Guava & Cream Pie
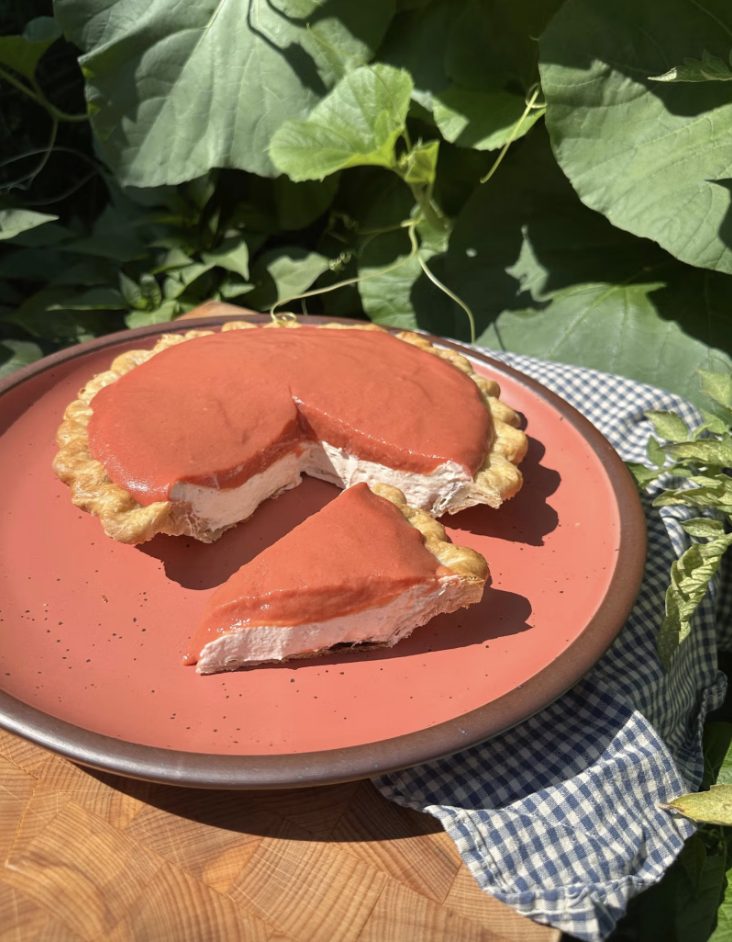
Some say the pie of the summer is the cream pie at Briermere farms in Long Island, NY, I say any pie is a summer pie if you believe. As an ode to said summer pie, I decided to make my version that’s a wink and a smile to East Fork’s newest glaze, Guava. It’s best enjoyed in the high sun of summer with the breeze slowly floating through the air. Tart, creamy and leaving you wanting more.
Prep Time: 20 mins
Cook Time: 45 mins
Additional Time: 2 hrs
Total Time: 3 hrs 5 mins
Servings: 8
Yield: 1 10-inch pie
Ingredients
Single Crust Recipe
1 1/4 cups unbleached all-purpose flour
1/2 teaspoon kosher salt
1 ½ teaspoon granulated sugar
1/2 cup cold unsalted butter, cut into ½-inch pieces
1/2 cup cold water
2 tablespoons apple cider vinegar
1 cup ice
Guava Topping
¼ cup white sugar
1 tablespoon cornstarch
1 (14 ounce) package frozen guava puree
1 ½ tablespoons water
1 ½ tablespoons lemon juice
1 tablespoon butter
½ teaspoon vanilla bean paste
Cream Filling
1 ½ cups heavy cream
1 (8 ounce) package cream cheese, softened
¾ cup powdered sugar
1 tablespoon vanilla bean paste
½ cup sour cream
Special Equipment
Stand Mixer or hand mixer
Optional toppings
Bruléed Pineapple Slices
Toasted Coconut
Directions
Make the Crust!
Stir the flour, salt and sugar together in a large bowl with a flat bottom. Add the butter pieces on top of the dry ingredients. Using your fingers, toss the butter in the dry mixture so each cube is coated. Use a pastry blender or your fingers to cut or rub the butter into the mixture until it is in pieces a bit larger than peas (a few larger pieces are okay; be careful not to over-blend).
In a separate large measuring cup or small bowl, combine the water, cider vinegar, and ice. Sprinkle 2 tablespoons of the ice water mixture over the flour mixture; do not add the ice. Using your hands in a circular motion, bring the mixture together until all the liquid is incorporated. Continue adding the ice water mixture, 1 to 2 tablespoons at a time. Carefully mix until the dough comes together in a ball, with some dry bits remaining. Turn the dough out onto a lightly floured surface and knead gently until it comes into one mass; you don’t want to overwork it.
Shape the dough ball into a flat circle about an inch thick, wrap in plastic, and refrigerate for at least 1 hour, preferably overnight before using.
Prepare the Crust!
Take your crust out of the fridge. Flour the surface you will be working on and start to roll out the dough applying even pressure across the dough. Pick up the dough and rotate, turn and roll. Continue rolling until the dough is a circle that is about 2 inches wider than your pie plate and about a quarter inch thick. Fold your dough round gently in half and position the fold in the center of your pie pan, then unfold the disc and gently slide the dough into the pan. Go around the edges and gently press the dough into the pan, making sure that the dough is flush against the base. Gently press around the base to there are no gaps between the dough and the pan.
Once your dough has found a snug place in the pan, trim the excess dough around the edges making sure to leave an inch and a half allowance.
You are now going to crimp the edge, start by rolling the dough that is over hanging tightly under itself, making a rope that sits directly on top of the pan’s rim. You want to make this rope tight, so it doesn’t unravel while baking. After you’ve made the rope, go back around the circumference of the pan and push down the rope with your thumb. This gives you a nice circle of dough that can be shaped and pushed into your crimps. You can leave it here too and just press the edges with the tines of a fork.
To crimp the edge decoratively take your index finger and your thumb on one hand and make a “C” shape. Hold the “C” shape on the outside of your pie pan pushing inward while pushing your opposite thumb into the center of the “C” from inside the pie pan. This is your mold to crimp the edges of the pie all the way around. Once you’ve gone all the way around making crimps, I like to use my thumb and index finger on the other hand to push my crimps down to get a flat scallop effect all the way around the pie.
Place the crust in the freezer for at least 30 minutes, or until frozen solid.
Blind Bake the Crust!
Pre heat oven to 375 degrees with an oven rack in the middle. Place a sheet pan in the oven while it preheats. Once your oven has come to temperature. Take your pie crust out the freezer and line it with foil, tightly wrapping all the crimps and fill the cavity fully with pie weights or dried beans.
Place on sheet pan in the oven and bake for 20 minutes. Take the crust out the oven and remove foil and pie weights. Return the crust to the oven and bake till golden brown, about 10-15 minutes more. Let cool completely. completely.
Make the Guava Topping!
In a medium saucepan, whisk sugar and cornstarch. Add in guava puree, water and lemon juice. Over medium high heat bring the mixture to a boil, stirring constantly. Boil until the mixture thickens and coats the back of a spoon, about 5-6 minutes. Remove from heat, stir in butter and vanilla paste. Set aside to cool.
Make the Cream Filling!
Place bowl of stand mixer in the freezer for at least 10 minutes. Stand mixer should be fitted with the whisk attachment. Once the bowl is chilled pour heavy cream into the bowl and beat on medium speed until stiff peaks form. Transfer whipped cream to another bowl.
Switch the attachment to a paddle attachment. In the stand mixers bowl, combine cream cheese, powdered sugar, and vanilla bean paste. Beat until well combined, about 2 minutes. Fold in whipped cream and sour cream until evenly incorporated.
Assemble the Pie!
Take cooled pie crust and fill with cream filling. Smoothing out the top with an offset spatula. Top with cooled guava topping. Refrigerate pie until thoroughly chilled, 2 hours to overnight.
Serve the Pie!
Serve the pie chilled with optional toasted coconut and bruleed pineapples!